Thursday, February 28, 2008

Can Tab Belt

Directions For The Belt.


I collected 200 tabs, raiding my neighbors recycling bins in the dark of night, and ended up using 125-150 of them. I bought 5 yards of nylon cord and used all of it. It took 60-90 minutes to make.
First I found the center point of the cord and tied a knot about 8 inches in.


I then threaded my first can tab on, I consider this the front.


I threaded on my second tab whick will be the back of the belt. I put rough edges facing in toward each other.


this is the back view


I then put on the second "front" tab crossing the cord to make an x....like cross stitch


The back view of this step


Thread the second "back" tab on


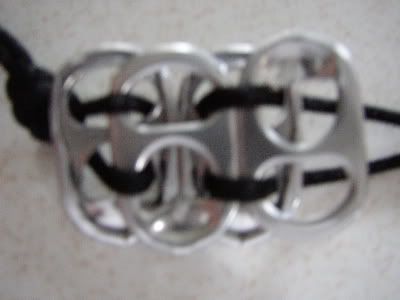
Come up through the holes on the front tab


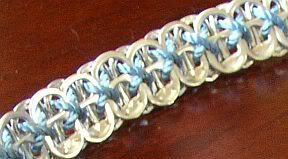
Continue by doing the cross stitch on front


Voila!

Photobucket - Video and Image Hosting


Photobucket - Video and Image Hosting


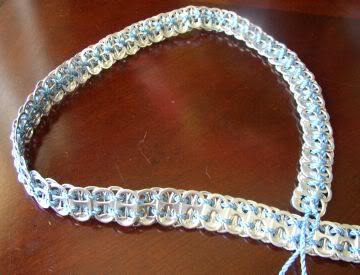
I hope this is helpful. Once you get the hang of it it goes quickly.....and is addictive. You've been warned.
thankyou...

how to make paperbag book


Paperbag Book Tutorial

Supplies needed:

Lunchbags, stapler, glue stick, paper trimmer, scissors, glue dots, decorative paper, ephemera.

For a six page book, use 3 paperbags. Alternate the opening of the bags and stack them on top of each other.


Fold the bags in half.


Now you can pull out your sewing machine and sew up the middle, or do it the fast and speedy way and staple the center. I like fast and speedy.


Pull out all your collage and scrapbook supplies. This is where the fun begins.


I cut a piece of decorative paper to cover the spine of the book and glue it on with a glue stick. I've tied riboons around the spine on this book. You can also punch holes and thread yarn and ribbons through.
Now you can turn this into anything you want. I mailed cds to a friend using the bag openings to hold the cds. You can use this as a photo book, an art book, keep recipes or decorating ideas in it. Whatever you want!